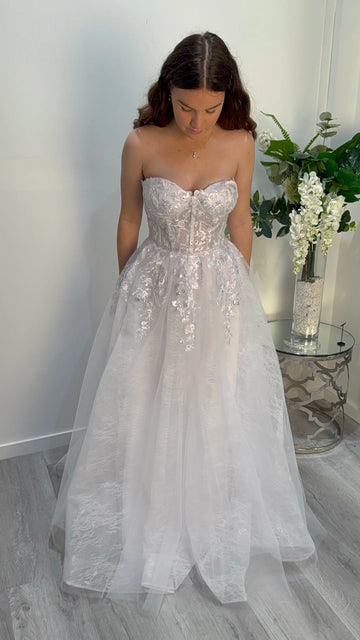
Step-by-Step Guide to Designing Your Dream Wedding Dress
Designing your own wedding dress is a magical journey that allows you to create a gown that truly reflects your style and personality. From the first sketch to the final stitch, every step is an opportunity to infuse your dress with your unique vision. Here’s a step-by-step guide to help you bring your dream wedding dress to life.
Step 1: Gather Inspiration
Before you start sketching, gather inspiration from various sources:
- Bridal Magazines: Flip through the latest bridal magazines to see trending styles and timeless classics.
- Pinterest: Create a board to pin your favorite dresses, fabrics, and design elements.
- Designer Collections: Look at collections from top wedding dress designers to understand different silhouettes and embellishments.
Step 2: Sketch Your Ideas
Start translating your ideas onto paper:
- Basic Silhouette: Begin with the basic shape of your dress. Consider A-line, mermaid, ball gown, or sheath silhouettes.
- Details: Add details like the neckline (sweetheart, V-neck, off-the-shoulder), sleeves (long, cap, sleeveless), and embellishments (lace, beading, embroidery).
- Back Design: Don’t forget the back of the dress! Decide if you want it open, with buttons, or featuring intricate lacework.
Step 3: Choose Your Fabrics
Fabrics can make or break your design:
- Silk: Known for its luxurious feel and natural sheen.
- Lace: Perfect for adding a romantic touch.
- Tulle: Ideal for creating volume and a fairy-tale effect.
- Satin: Smooth and glossy, great for structured dresses.
- Chiffon: Lightweight and flowing, perfect for an ethereal look.
Step 4: Create a Detailed Design Sketch
With your fabric choices in mind, refine your sketch:
- Front and Back Views: Draw detailed front and back views of your dress.
- Close-Up Details: Include close-up sketches of intricate details like beading patterns, lace placements, and embroidery.
Step 5: Take Accurate Measurements
Accurate measurements are crucial for a perfect fit:
- Bust: Measure around the fullest part of your bust.
- Waist: Measure around the narrowest part of your waist.
- Hips: Measure around the fullest part of your hips.
- Length: Measure from your shoulder to the desired length of the dress (floor-length, tea-length, etc.).
Step 6: Create a Muslin Prototype
Before cutting your expensive fabric, create a prototype:
- Muslin Fabric: Use inexpensive muslin fabric to make a mock-up of your dress.
- Fit Adjustments: Try on the muslin dress and make necessary adjustments to the fit and design.
Step 7: Cut Your Fabric
Once you’re happy with the muslin prototype, it’s time to cut your actual fabric:
- Pattern Pieces: Lay out your pattern pieces on the fabric and pin them in place.
- Cutting: Carefully cut around the pattern pieces, making sure to leave seam allowances.
Step 8: Start Sewing
With your fabric pieces ready, it’s time to start sewing:
- Bodice First: Begin by sewing the bodice pieces together.
- Skirt Assembly: Assemble the skirt pieces and attach them to the bodice.
- Details and Embellishments: Add any lace, beading, or other embellishments.
Step 9: Fittings and Adjustments
As you sew, periodically try on the dress to ensure a perfect fit:
- Pinning and Adjusting: Pin and adjust any areas that need tweaking.
- Seam Finishing: Finish the seams for a professional look.
Step 10: Final Touches
Add the finishing touches to complete your dress:
- Hems: Hem the bottom of the dress to the desired length.
- Closures: Add zippers, buttons, or hooks to the back.
- Pressing: Press the dress to remove any wrinkles and give it a polished look.
Conclusion
Designing your own wedding dress is a rewarding and unforgettable experience. By following these steps, you can create a gown that is uniquely yours, reflecting your personal style and the love story you’re about to begin. At Divine Bridal, we celebrate creativity and individuality, and we’re here to support you every step of the way. Happy designing!


