Essential Guide to DIY Wedding Dress Alterations for Beginners
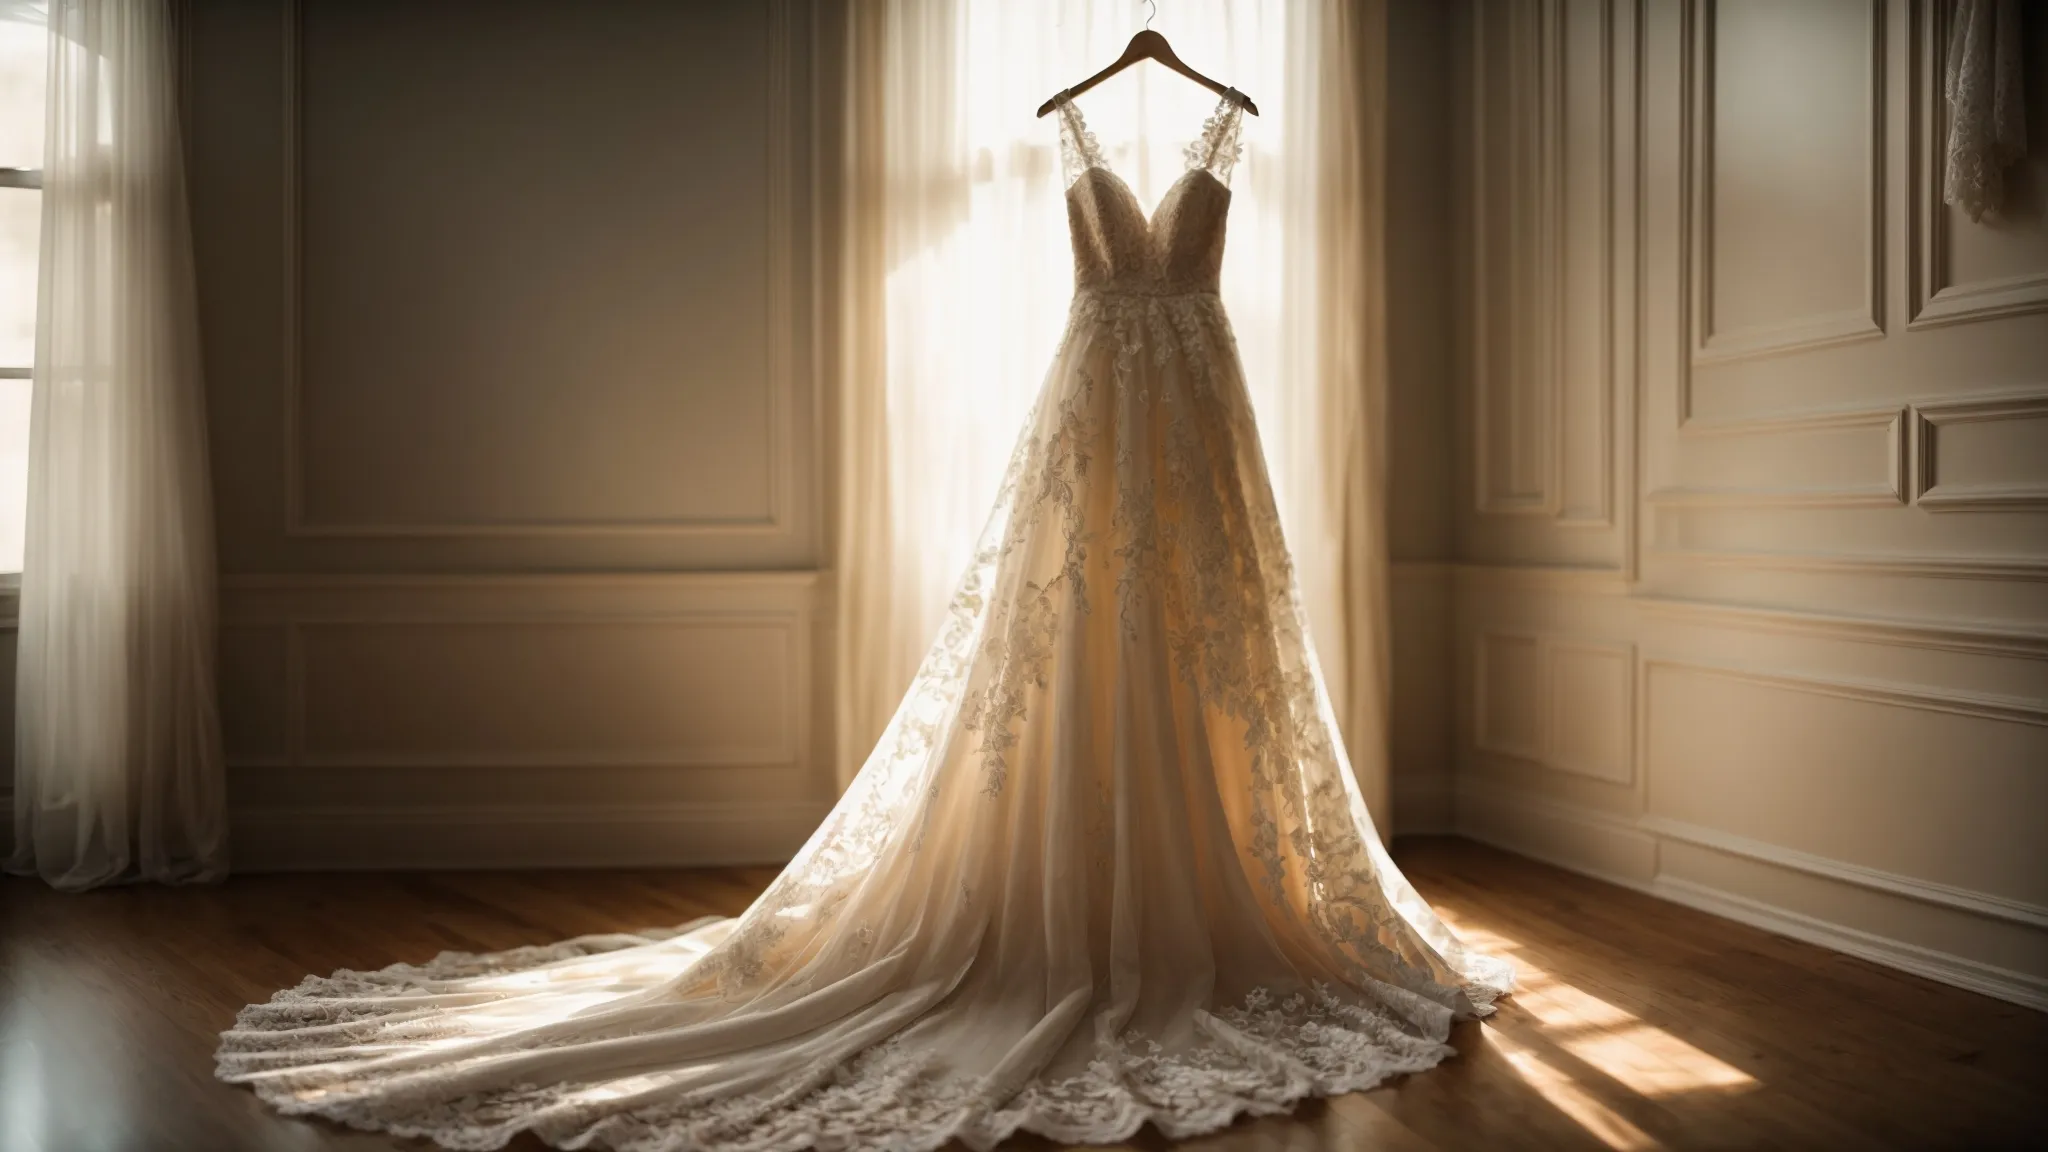
Table Of Contents:
- Essential Guide to DIY Wedding Dress Alterations for Beginners
- Understanding Wedding Dress Alterations for Beginners
- Preparing Your Wedding Dress for Alterations
- Altering the Dress Bodice for a Perfect Fit
- Altering the Dress Bodice for a Perfect Fit
- Adjusting the Length and Hem of the Dress
- Adjusting the Length and Hem of the Dress
- Customizing Dress Details and Embellishments
- Customizing Dress Details and Embellishments
- Final Fitting and Dress Care
- Conclusion
Essential Guide to DIY Wedding Dress Alterations for Beginners
Are you struggling to achieve the perfect fit for your wedding dress? Many brides face challenges with alterations, especially when it comes to adjusting the bodice, length, or adding details like a scallop hem. In this essential guide to DIY wedding dress alterations for beginners, I will walk you through the steps to prepare your dress, alter the bodice and length, and customize embellishments. By following these tips, you’ll gain the confidence to make your dress fit beautifully, ensuring you look stunning on your special day. Let’s tackle those alterations together and make your vision a reality.
Understanding Wedding Dress Alterations for Beginners
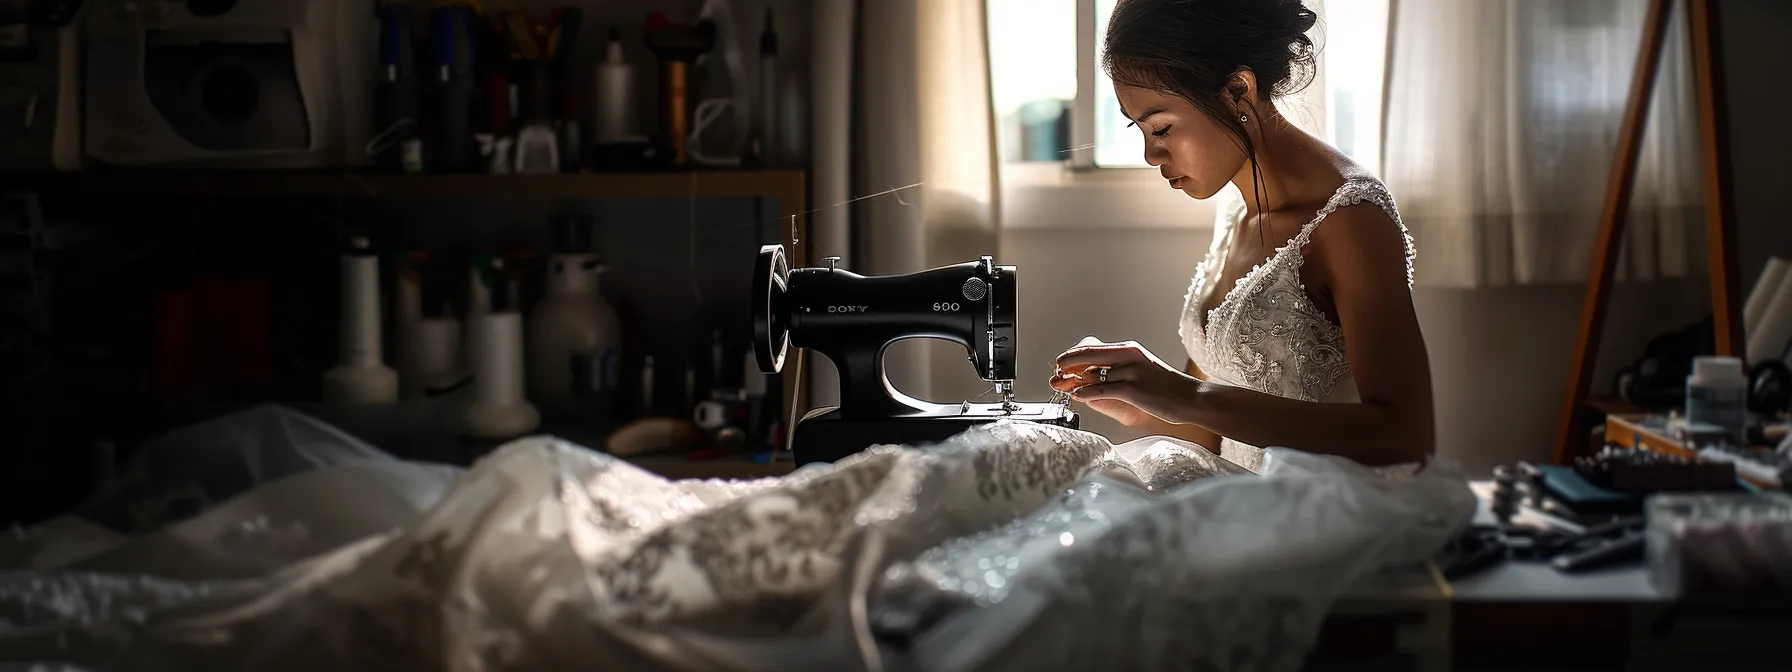
Identifying alteration needs for your dress is the first step in ensuring a perfect fit for your big day. I’ll guide you through gathering essential tools and supplies, including a sewing machine and crinoline, to make the process smoother. Additionally, I’ll cover basic sewing techniques that every bride should know, from adjusting sleeves to working with a dressmaker’s finesse.
Identifying Alteration Needs for Your Dress
Identifying alteration needs for your gown is crucial for achieving the perfect fit on your wedding day. Start by examining the bodice to see if it needs to be taken in or let out, as this can significantly affect your overall comfort and appearance. Pay attention to the hip area as well; if the gown feels too tight or loose, adjustments may be necessary. Lastly, check the zipper functionality to ensure it operates smoothly, as a malfunctioning zipper can be a major inconvenience.
| Alteration Area | Common Issues | Suggested Actions |
|---|---|---|
| Bodice | Too tight or loose | Take in or let out seams |
| Hip | Restrictive fit | Adjust side seams |
| Zipper | Stuck or broken | Replace or repair zipper |
Gathering Essential Tools and Supplies
When preparing for bridal alterations, gathering the right tools and supplies is essential for a successful DIY project. I recommend having a reliable sewing machine, sharp scissors, and a measuring tape on hand. Additionally, consider investing in quality thread that matches your dress, as well as buttons and seam tape for any adjustments needed on your gown or bridesmaid dresses.
| Tool/Supply | Purpose |
|---|---|
| Sewing Machine | For stitching and alterations |
| Scissors | To cut fabric and thread |
| Measuring Tape | To ensure accurate measurements |
| Thread | For sewing seams and repairs |
| Buttons | For closures and decorative elements |
| Seam Tape | To reinforce seams and edges |
Learning Basic Sewing Techniques
Learning basic sewing techniques is essential for any bride looking to make alterations to her wedding dress. For instance, if you’ve experienced weight loss leading up to your big day, knowing how to take in a chiffon or lace bodice can ensure a snug fit. Additionally, mastering the art of creating a bustle for your skirt will allow you to elegantly lift the train for the reception, making it easier to move and dance while still looking stunning.
Preparing Your Wedding Dress for Alterations

Taking accurate measurements is the first step in preparing your wedding dress for alterations, ensuring a perfect fit for your ball gown. Selecting the right fabric and materials, such as silk, is essential for achieving the desired look and feel. Finally, setting up your sewing space will create an efficient environment for making adjustments to straps, hems, and other details. Each of these steps is crucial for a successful alteration process.
Taking Accurate Measurements
Taking accurate measurements is vital for ensuring your wedding dress fits perfectly. I recommend enlisting the help of a trusted friend or family member, like your mother, to assist you in measuring key areas such as the bust, waist, and hips. Pay special attention to the neckline and corset area, as these details can significantly impact the overall look and comfort of your gown, helping you avoid any additional alteration fees later on:
| Measurement Area | How to Measure |
|---|---|
| Bust | Measure around the fullest part of your bust, keeping the tape level. |
| Waist | Measure around the narrowest part of your waist, usually just above the belly button. |
| Hips | Measure around the fullest part of your hips, ensuring the tape is straight. |
| Neckline | Measure from the center of your collarbone to where you want the neckline to sit. |
| Corset | Measure around the area where the corset will sit, ensuring a snug fit. |
Selecting the Right Fabric and Materials
Selecting the right fabric and materials for your wedding dress alterations is essential for achieving a polished look. I recommend choosing fabrics that are easy to work with, such as cotton blends or lightweight silks, as they allow for smoother stitching and adjustments. Additionally, consider the weight and drape of the fabric; heavier materials may require more precise handling to ensure that alterations maintain the dress's intended silhouette and flow.
Setting Up Your Sewing Space
Setting up your sewing space is a crucial step in preparing for wedding dress alterations. I recommend choosing a well-lit area with ample room to spread out your gown and tools. Having a sturdy table at a comfortable height will make it easier to work on your dress, while organizing your supplies nearby ensures that everything you need is within reach, allowing for a smoother alteration process.
Altering the Dress Bodice for a Perfect Fit
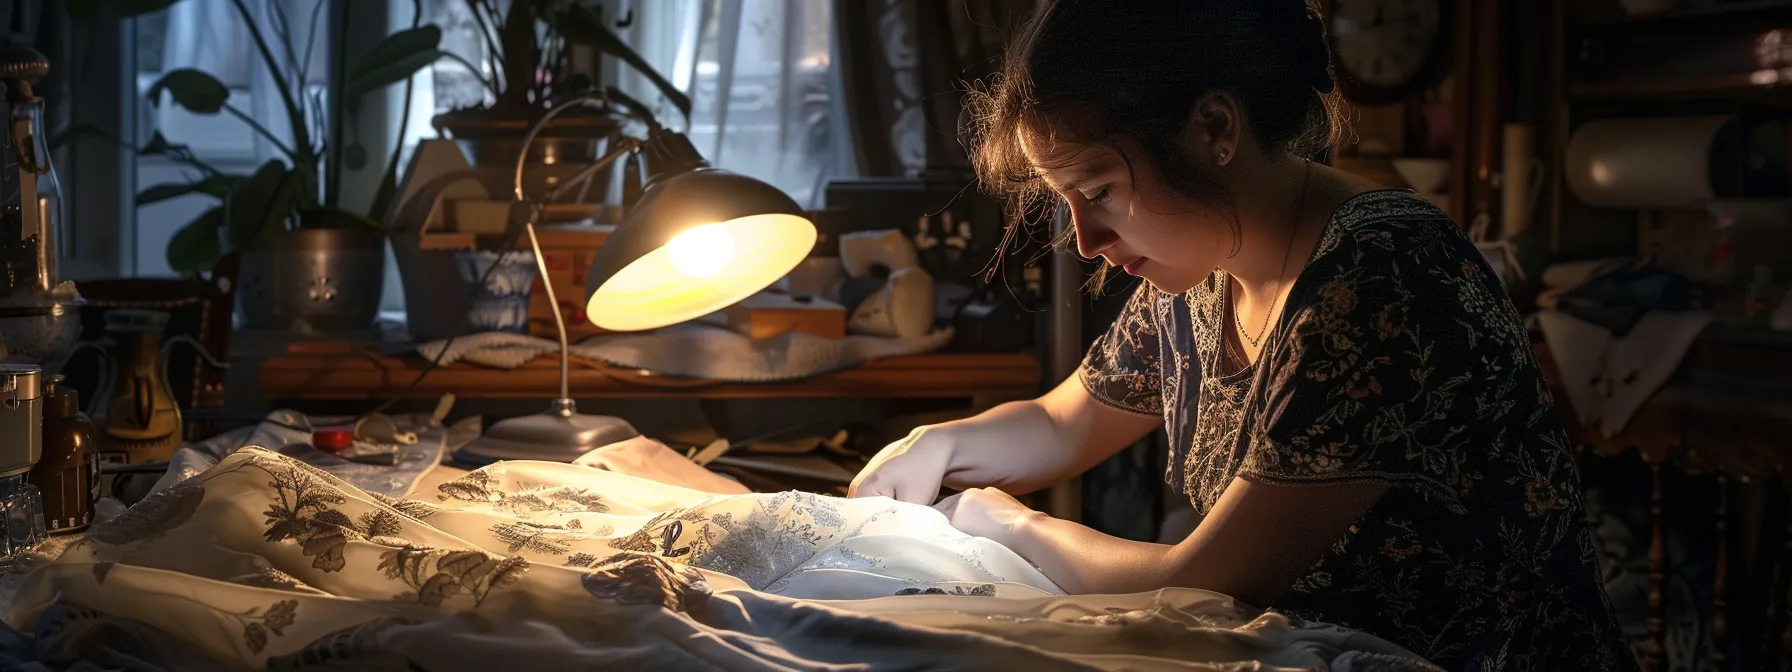
Altering the Dress Bodice for a Perfect Fit
Adjusting the bust area is essential for achieving a flattering silhouette, while modifying the waistline can enhance your overall comfort. Reshaping the back and shoulders ensures that the dress sits perfectly on your frame. In this section, I’ll provide practical insights on each of these key areas, helping you create a stunning fit for your wedding dress.
Adjusting the Bust Area
Adjusting the bust area of your wedding dress is crucial for achieving a flattering and comfortable fit. I recommend starting by trying on the dress and assessing how it sits on your body. If the bust feels too tight or loose, you can take in or let out the seams to create a more tailored look. This adjustment not only enhances your silhouette but also ensures that the dress provides the support you need throughout your special day:
| Adjustment Type | Common Issues | Suggested Actions |
|---|---|---|
| Take In | Too loose around the bust | Pinch the fabric and sew along the seam |
| Let Out | Too tight around the bust | Unpick the seam and adjust accordingly |
| Reshape | Unflattering silhouette | Adjust the darts or seams for a better contour |
Modifying the Waistline
Modifying the waistline of your wedding dress is a key step in achieving a flattering fit that enhances your silhouette. I recommend trying on the dress and assessing how it sits at your natural waist; if it feels too loose or tight, you can easily adjust the side seams. Taking in the waist can create a more defined shape, while letting it out can provide additional comfort, ensuring you feel confident and beautiful on your special day.
Reshaping the Back and Shoulders
Reshaping the back and shoulders of your wedding dress is essential for achieving a polished and comfortable fit. I recommend trying on the dress and assessing how it sits on your shoulders; if it feels too loose or tight, you can adjust the shoulder seams accordingly. This adjustment not only enhances the overall silhouette but also ensures that the dress stays in place throughout your special day, allowing you to move with confidence and grace.
Adjusting the Length and Hem of the Dress
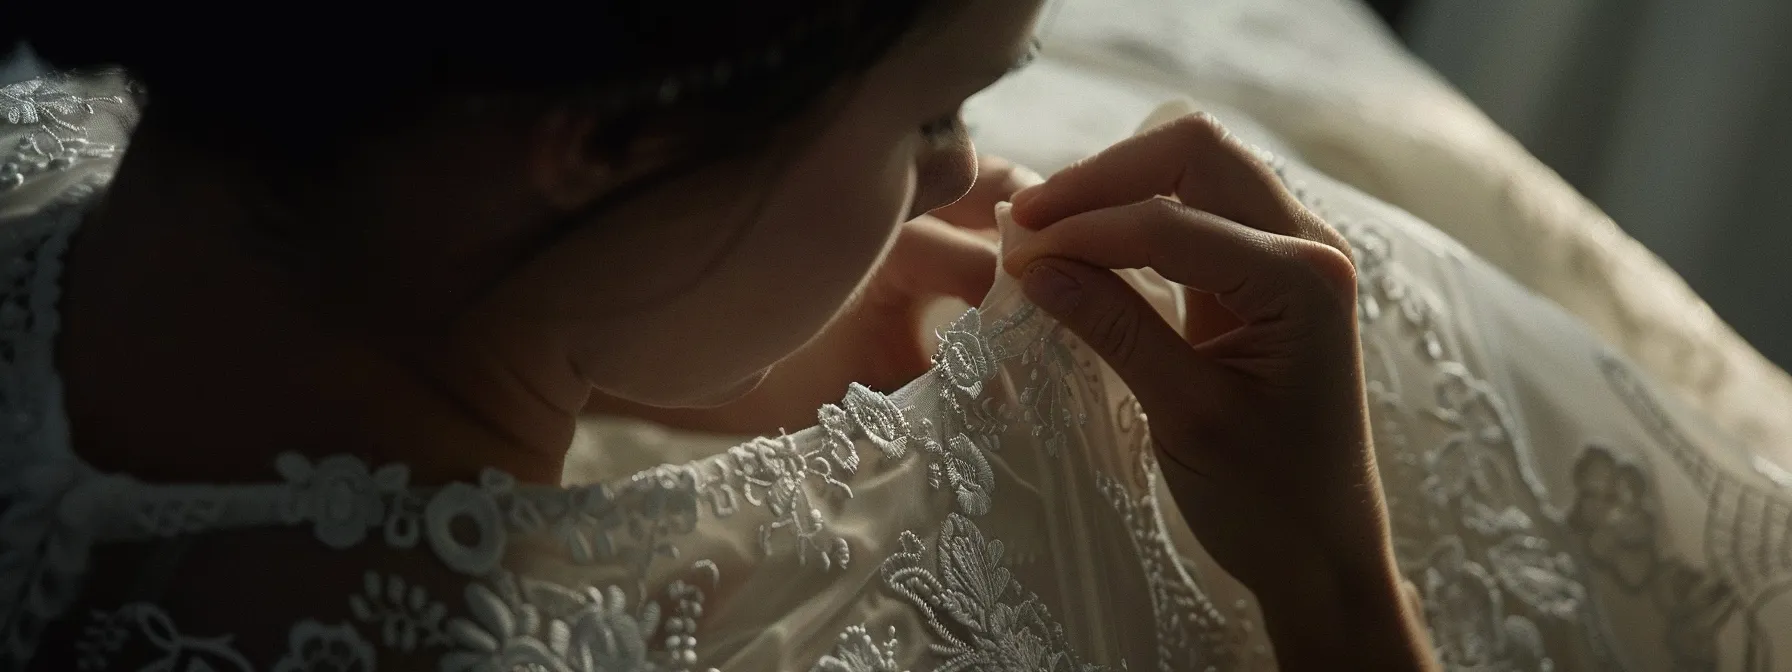
Adjusting the Length and Hem of the Dress
Measuring for the ideal length of your wedding dress is essential to ensure it complements your style and height. I’ll cover techniques for hemming different fabrics, which can vary significantly, and provide insights on working with trains and layers to maintain the dress's elegance. These adjustments will help you achieve a polished look for your special day.
Measuring for the Ideal Length
Measuring for the ideal length of your wedding dress is a critical step in ensuring it complements your height and style. I recommend wearing the shoes you plan to use on your wedding day while taking measurements, as this will help you determine the perfect hemline. Stand straight and have someone assist you in measuring from the highest point of the dress to the floor, ensuring you account for any additional layers or trains that may affect the overall length.
Techniques for Hemming Different Fabrics
Hemming different fabrics requires specific techniques to ensure a clean and polished finish. For lightweight fabrics like chiffon or tulle, I recommend using a rolled hem technique, which minimizes bulk and maintains the delicate flow of the material. In contrast, heavier fabrics such as satin or lace may benefit from a straight hem, where I carefully pin the fabric to the desired length and use a sewing machine to secure it, ensuring the hem lies flat and looks professional.
- Assess the fabric type before starting the hem.
- Use a rolled hem for lightweight fabrics.
- Opt for a straight hem on heavier materials.
- Pin the fabric securely to avoid shifting while sewing.
- Finish with a sewing machine for a polished look.
Working With Trains and Layers
When working with trains and layers on your wedding dress, it’s important to consider how these elements affect the overall length and flow of the gown. I recommend carefully measuring the train while the dress is on, ensuring it drapes beautifully without overwhelming your silhouette. If you need to shorten the train, I suggest using a method that maintains the dress's elegance, such as creating a subtle bustle that allows for easy movement during the reception:
| Adjustment Type | Common Issues | Suggested Actions |
|---|---|---|
| Shortening the Train | Train drags on the floor | Measure and cut to desired length, then hem |
| Creating a Bustle | Difficulty moving with a long train | Attach hooks or ties to lift the train |
| Layer Adjustments | Uneven layers | Trim layers to match desired length |
Customizing Dress Details and Embellishments

Customizing Dress Details and Embellishments
Customizing your wedding dress can elevate its beauty and make it uniquely yours. I’ll cover how to add sleeves or straps for a personalized touch, incorporate lace or beading to enhance elegance, and create a bustle for the train to ensure ease of movement. Each of these adjustments will help you achieve a stunning and functional gown for your special day.
Adding Sleeves or Straps
Adding sleeves or straps to your wedding dress can transform its overall look and provide additional support. I recommend selecting a fabric that complements your gown, such as lace or chiffon, to create a seamless blend. When attaching sleeves, ensure they are securely sewn to the bodice, allowing for comfortable movement while enhancing your silhouette:
- Choose a fabric that matches your dress.
- Consider the style of sleeves—cap, long, or off-the-shoulder.
- Securely attach sleeves to ensure comfort and support.
Incorporating Lace or Beading
Incorporating lace or beading into your wedding dress can significantly enhance its elegance and personal touch. I recommend selecting lace that complements the fabric of your gown, ensuring a seamless integration that elevates the overall design. When adding beading, consider the placement carefully; strategically embellishing areas like the bodice or hem can create a stunning focal point while maintaining balance throughout the dress.
Creating a Bustle for the Train
Creating a bustle for the train of your wedding dress is an essential step to ensure ease of movement during your reception. I recommend using a simple method, such as attaching hooks or ties to lift the train off the floor, allowing you to dance comfortably while still showcasing the beauty of your gown. This adjustment not only enhances functionality but also adds a touch of elegance to your overall look:
- Choose the right bustle style for your dress.
- Measure the train while wearing the dress to determine the ideal length.
- Securely attach hooks or ties to lift the train for easy movement.
- Test the bustle to ensure it holds throughout your event.
Final Fitting and Dress Care

Conducting a thorough final fitting is essential to ensure your wedding dress fits perfectly before your big day. I’ll guide you through the pressing and steaming process to eliminate any wrinkles, giving your gown a polished look. Additionally, I’ll share tips on safely storing your altered dress to keep it in pristine condition until you walk down the aisle.
Conducting a Thorough Final Fitting
Conducting a thorough final fitting is a critical step in ensuring your wedding dress fits perfectly before your big day. I recommend trying on the dress with the shoes you plan to wear, as this will help you assess the overall length and comfort. During this fitting, pay close attention to areas like the bodice, waist, and hem, making any last-minute adjustments to ensure you feel confident and beautiful as you walk down the aisle.
Pressing and Steaming the Dress
Pressing and steaming your wedding dress is a vital step to ensure it looks flawless on your big day. I recommend using a steam iron on a low setting, especially for delicate fabrics like lace or chiffon, to avoid damage. Gently steam the dress while it hangs to remove any wrinkles, paying special attention to the bodice and hem for a polished finish:
- Use a steam iron on a low setting for delicate fabrics.
- Hang the dress to allow gravity to help with wrinkle removal.
- Focus on the bodice and hem for a polished look.
Storing Your Altered Dress Safely
Storing your altered wedding dress safely is essential to maintain its beauty and integrity until your big day. I recommend using a breathable garment bag to protect the fabric from dust and light while allowing it to breathe. Additionally, hang the dress on a padded hanger to prevent any creasing or damage to the shoulders, ensuring it remains in pristine condition for your wedding.
| Storage Method | Benefits |
|---|---|
| Breathable Garment Bag | Protects from dust and allows fabric to breathe |
| Padded Hanger | Prevents creasing and damage to shoulders |
| Cool, Dark Place | Minimizes exposure to light and heat |
Conclusion
Mastering DIY wedding dress alterations empowers brides to achieve a perfect fit and personalized style for their special day. By identifying alteration needs, gathering essential tools, and learning basic sewing techniques, you can transform your gown into a stunning reflection of your vision. Taking accurate measurements and making thoughtful adjustments ensures comfort and elegance, while customizing details adds a unique touch. Embrace the journey of altering your dress, as it not only enhances your gown but also creates lasting memories in preparation for your wedding.
